PerksPe Settings
Manage your personal profile, organization details, team roles, and communication templates in one centralized hub.
1. Profile Information
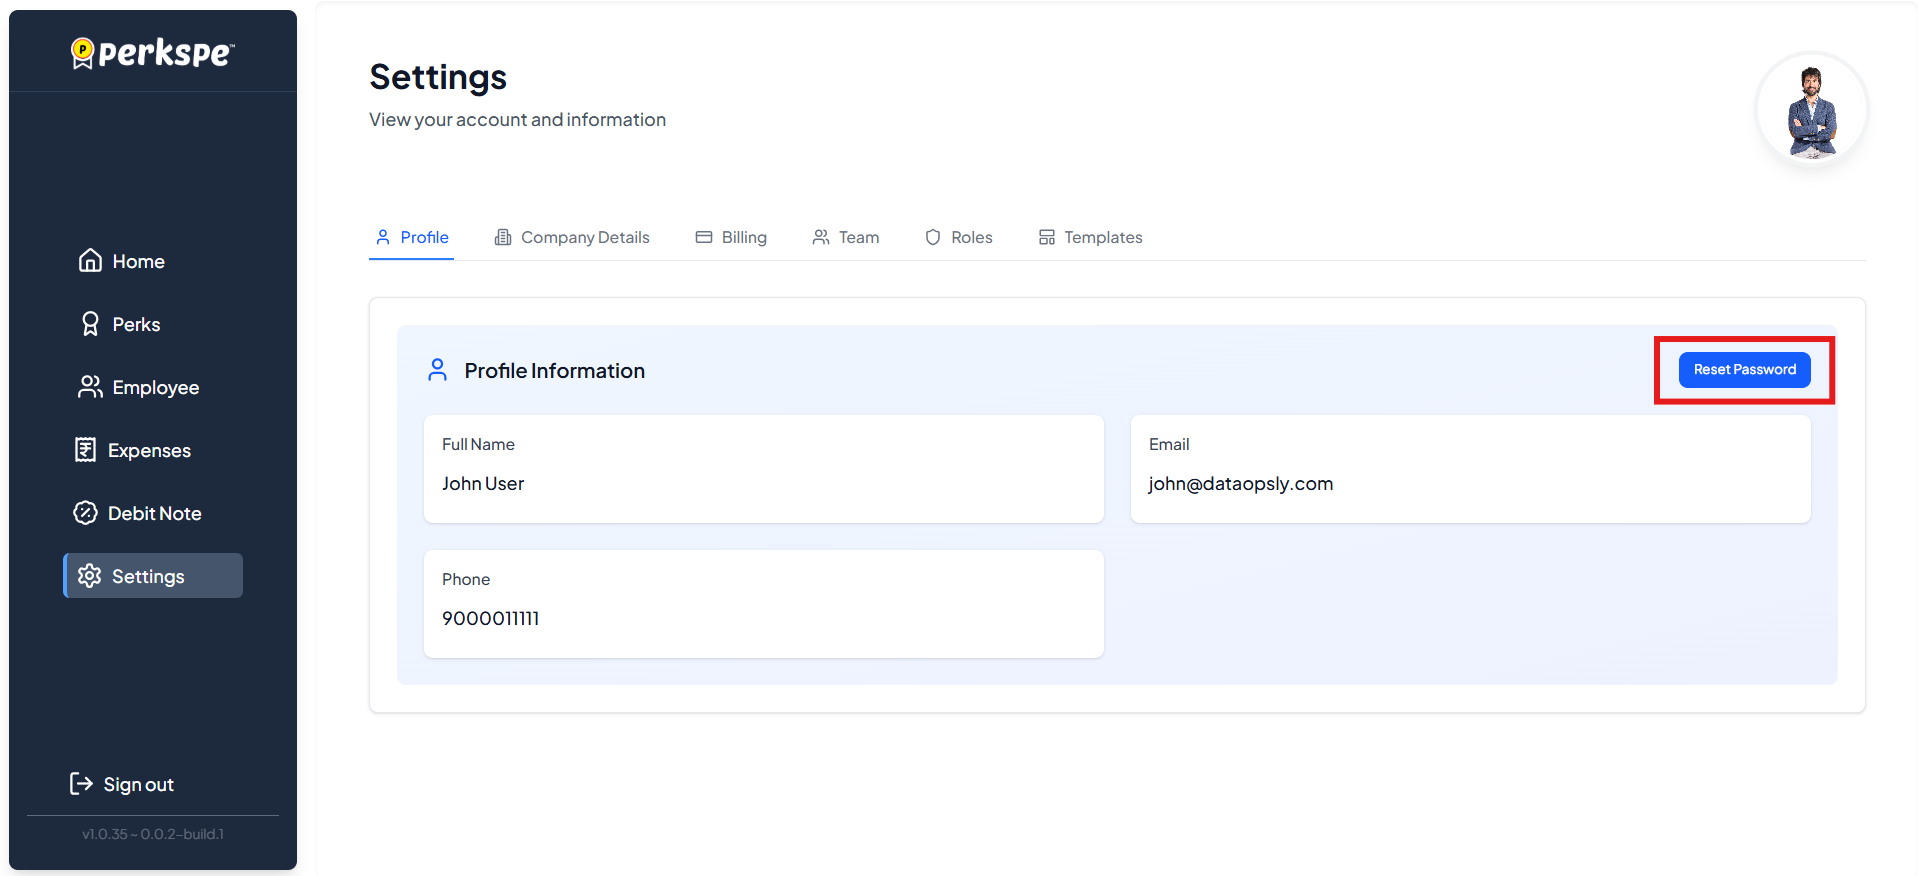
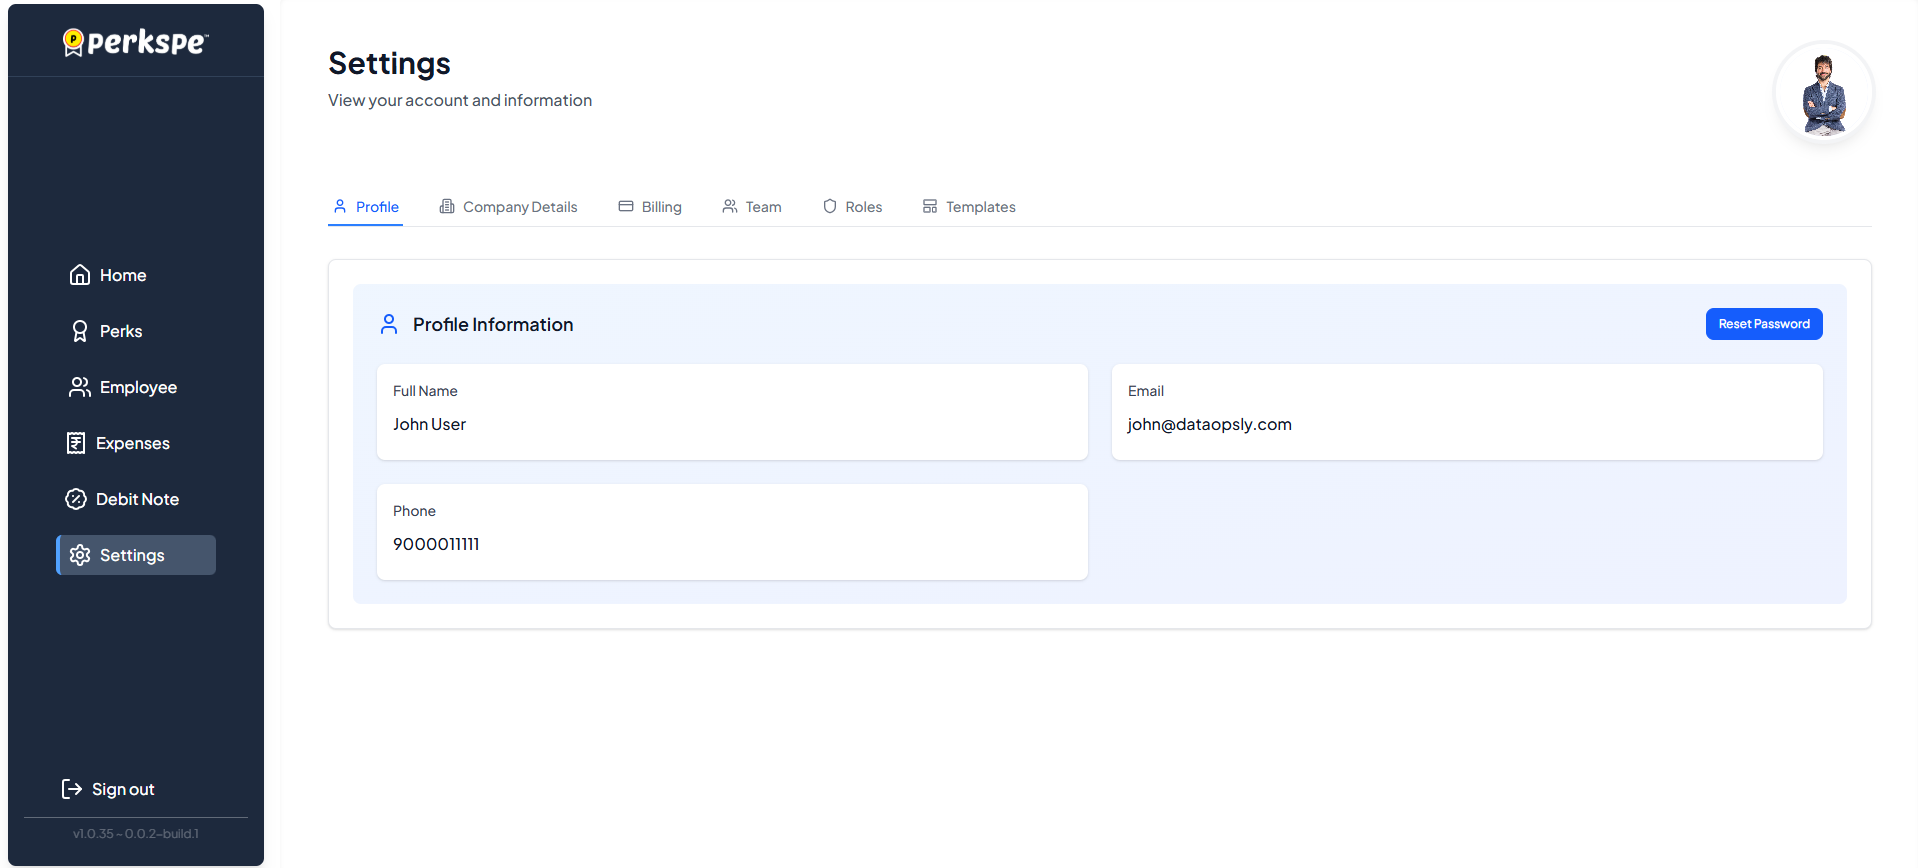
The Profile tab allows you to manage your personal account details and security settings.
2. Company Details
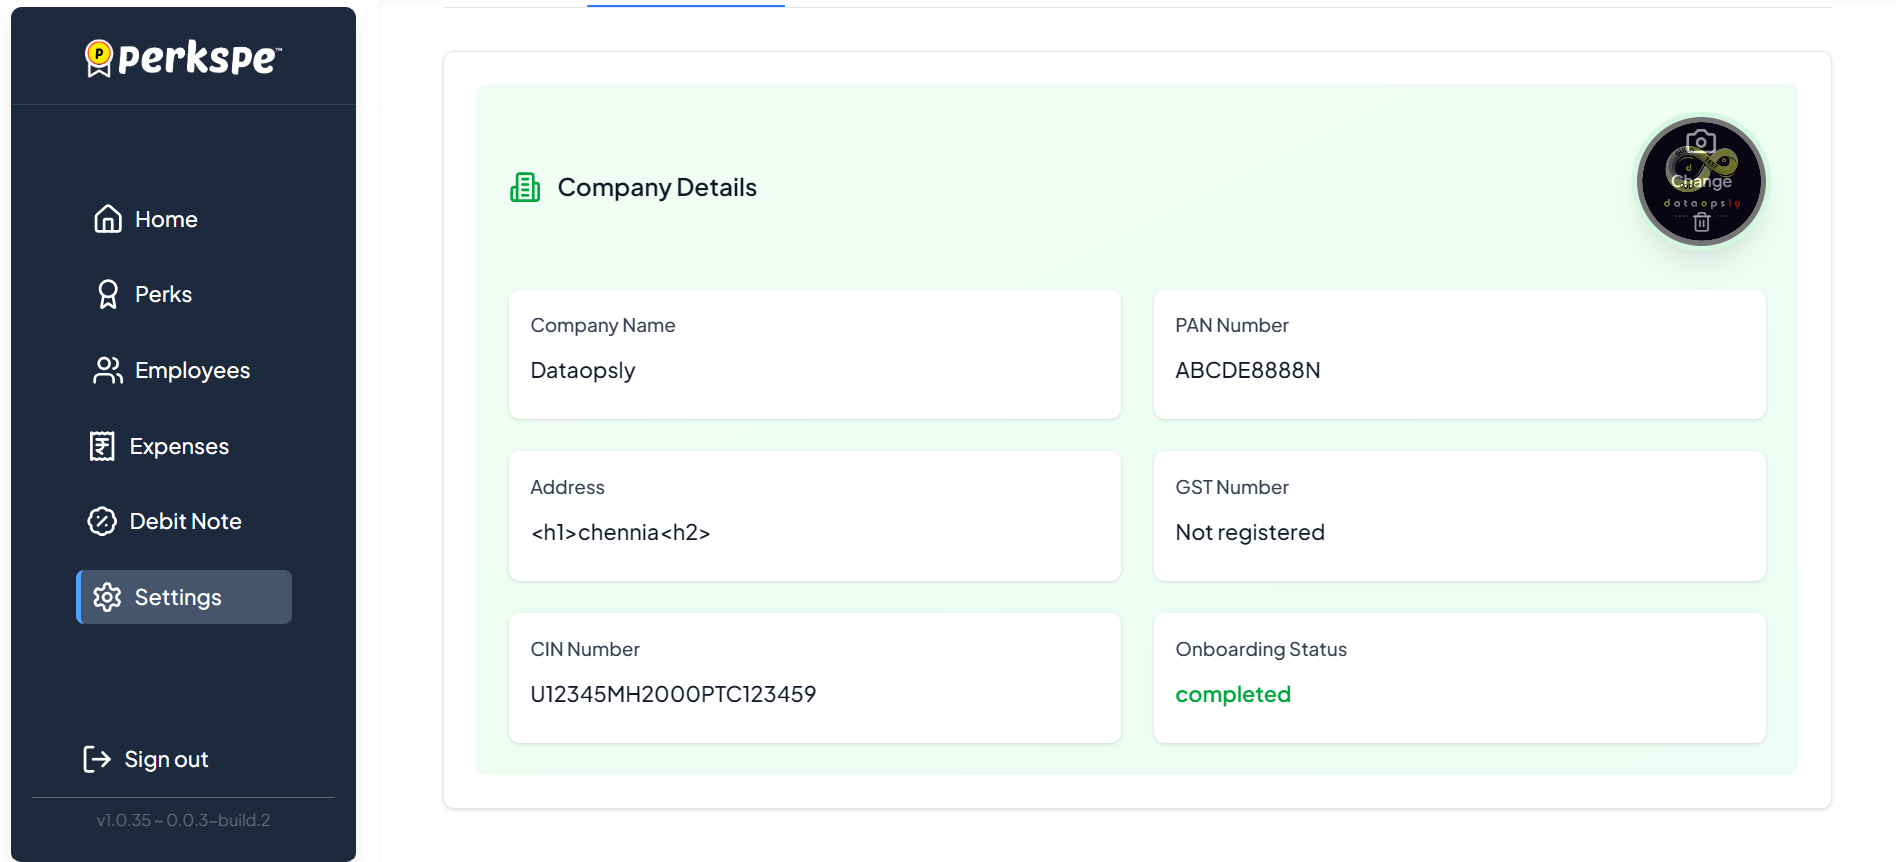
Update your organization's legal identity and branding. You can also change the company logo from this section.
Branding
Click the camera icon to upload a new logo, or the trash icon to remove it.
Legal & Status
View registered Name, Address, CIN, PAN, and GST numbers.
3. Billing
Manage your organization's financial and tax information for PerksPe services.
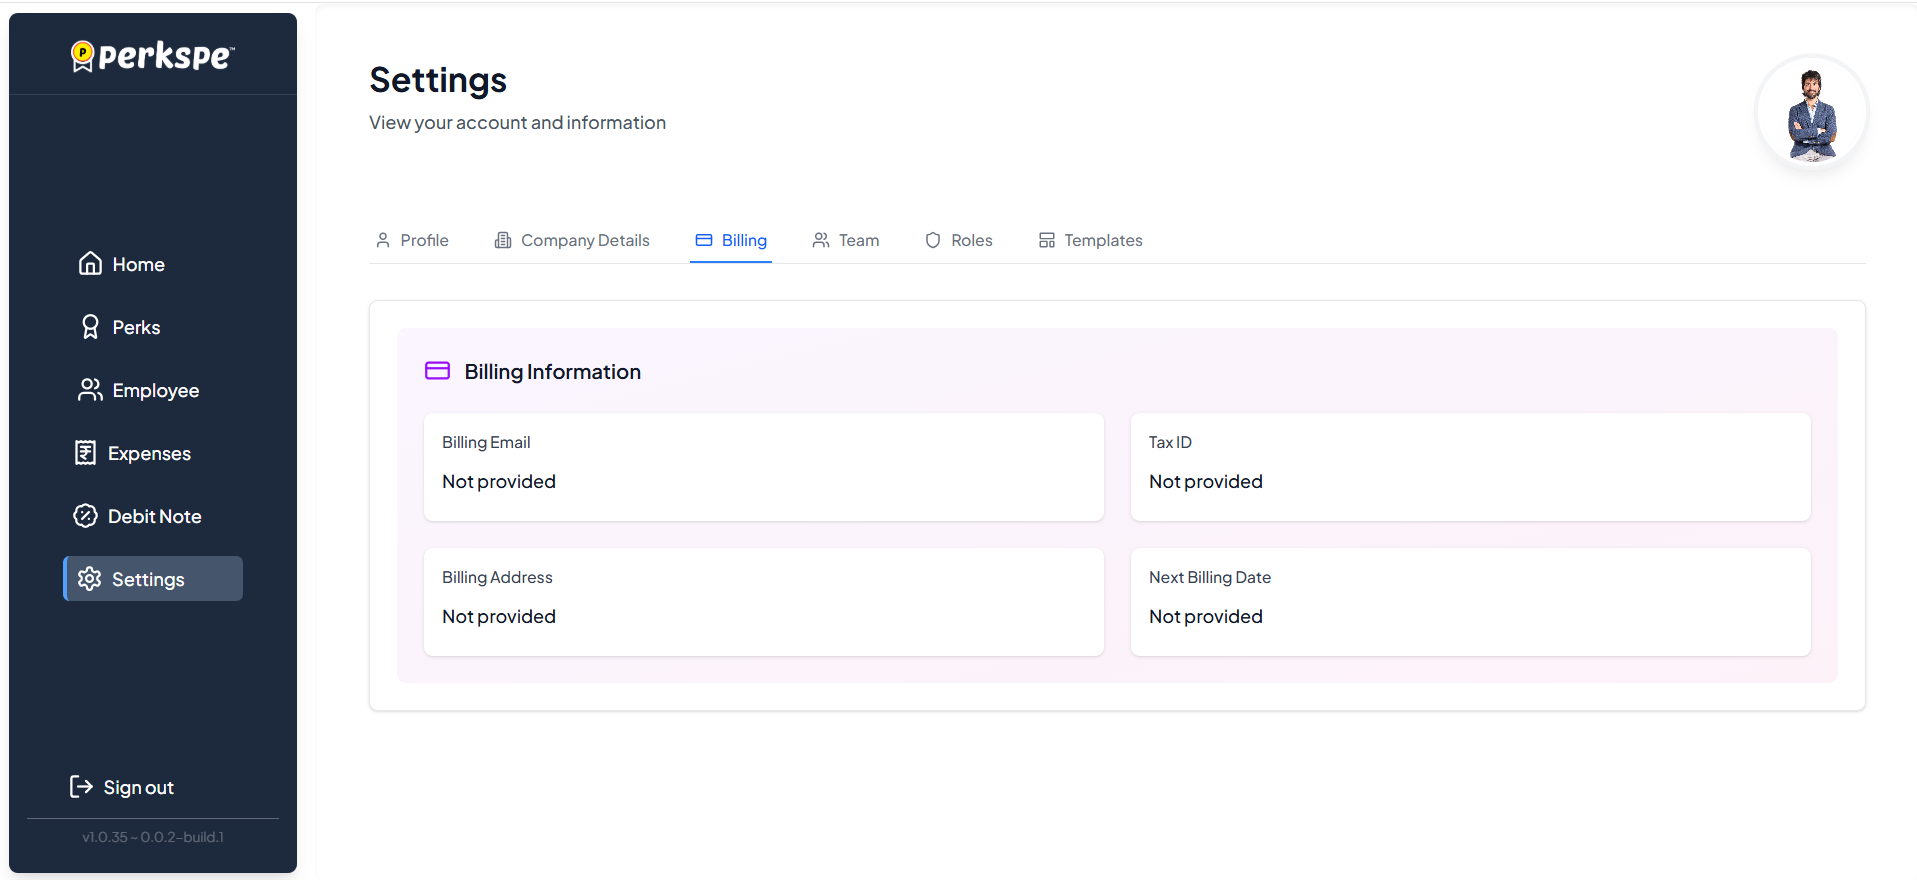
Billing Email
Where invoices and receipts are sent.
Tax ID
Your organization's tax identifier.
Billing Address
Official address for invoicing.
Next Billing Date
When your next subscription payment is due.
4. Team Management
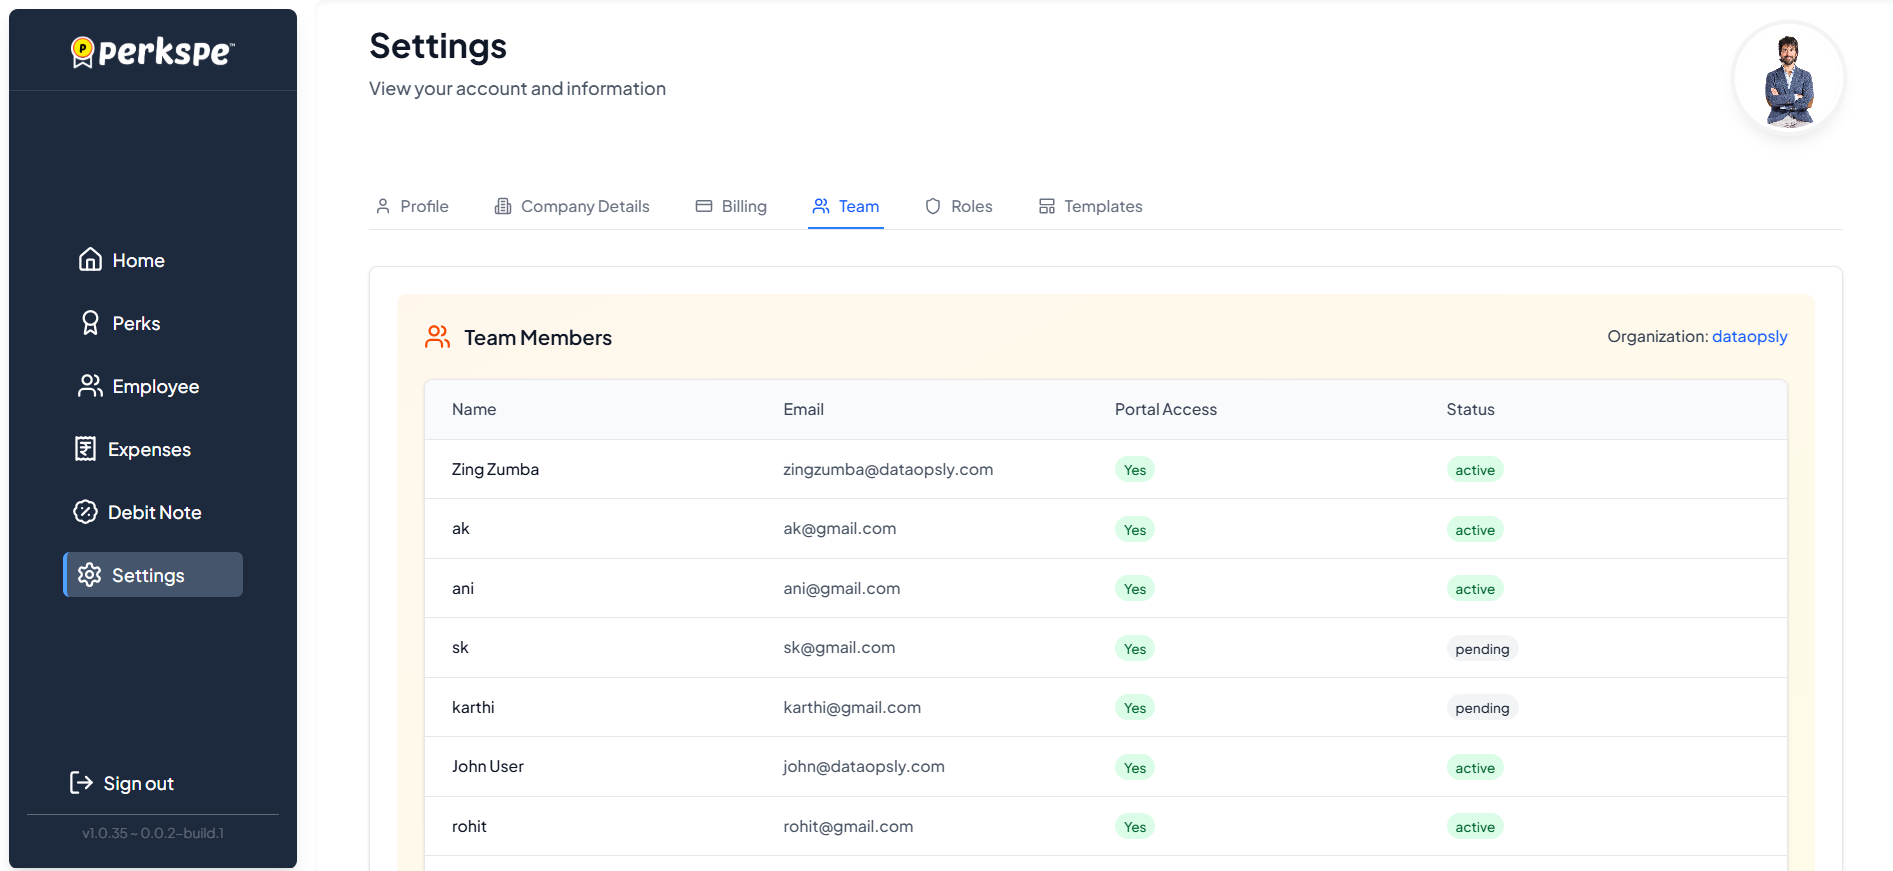
View and manage team members who have portal access. The list displays contact information, portal access rights, and Active/Inactive status.
5. Roles & Permissions
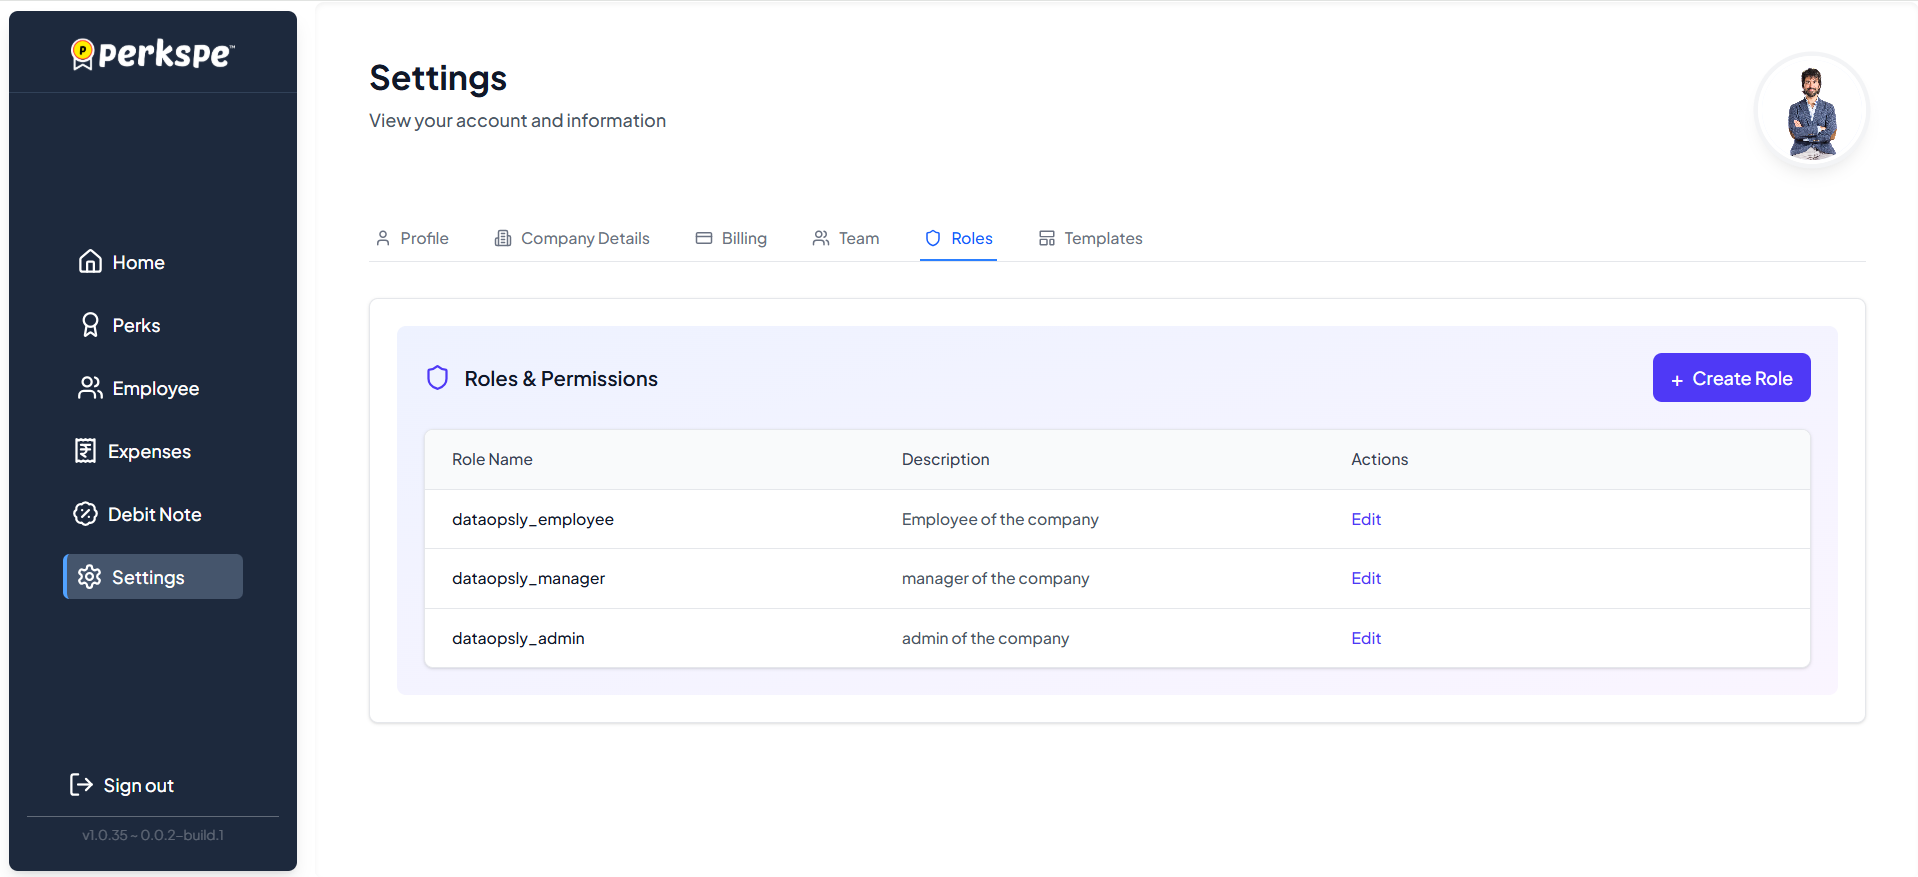
Define access levels by creating and managing roles.
Default Roles
Admin
Full system access and configuration.
Manager
View team activity and approve/reject expenses.
Employee
View and redeem personal perks.
HR Admin
Manage employee perks, rewards, and HR reports.
Finance Admin
Manage expenses, reimbursements, and finance reports.
Creating Custom Roles
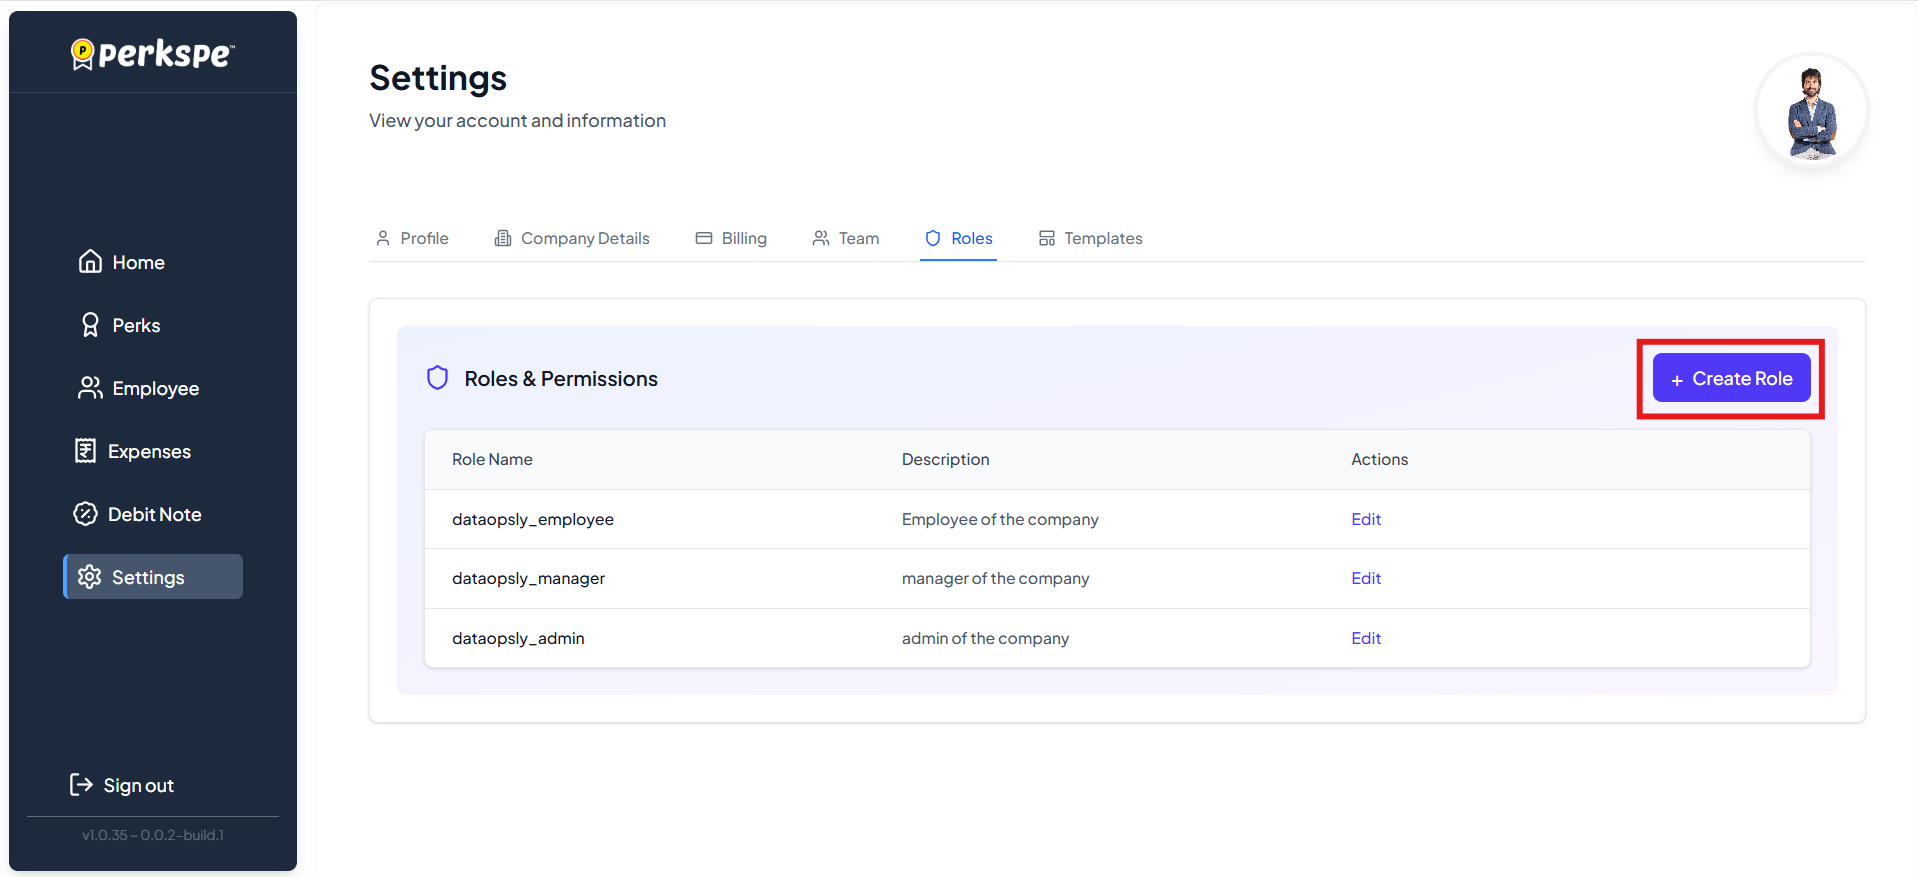
- Click the Create Role button.
- Enter a Role Name and Description.
- Select specific Permissions from the dropdown list.
- Click Save.
Permissions include:
- Users: Create, View, Update, Delete.
- Expenses: Approve/Reject, Comments.
- Perks: Create, Assign.
- System: View Dashboards, Analytics.
6. Email Templates
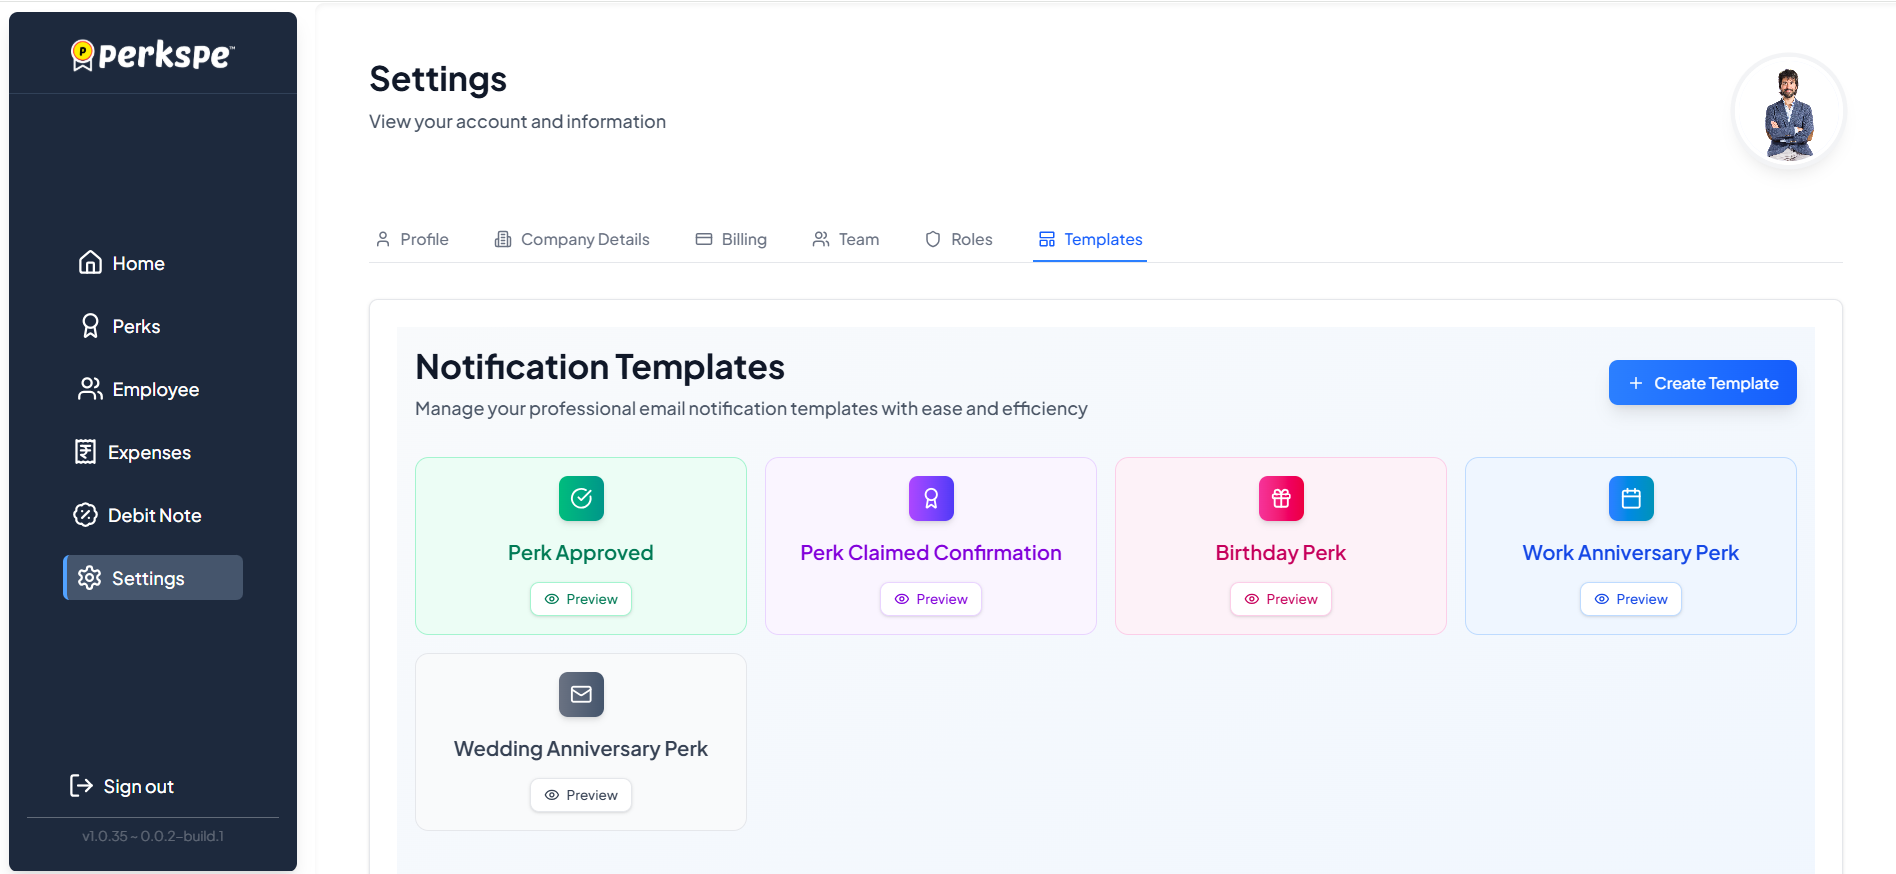
Customize automated email notifications sent to employees for milestones (birthdays, anniversaries) or perk approvals.
{{user_name}}).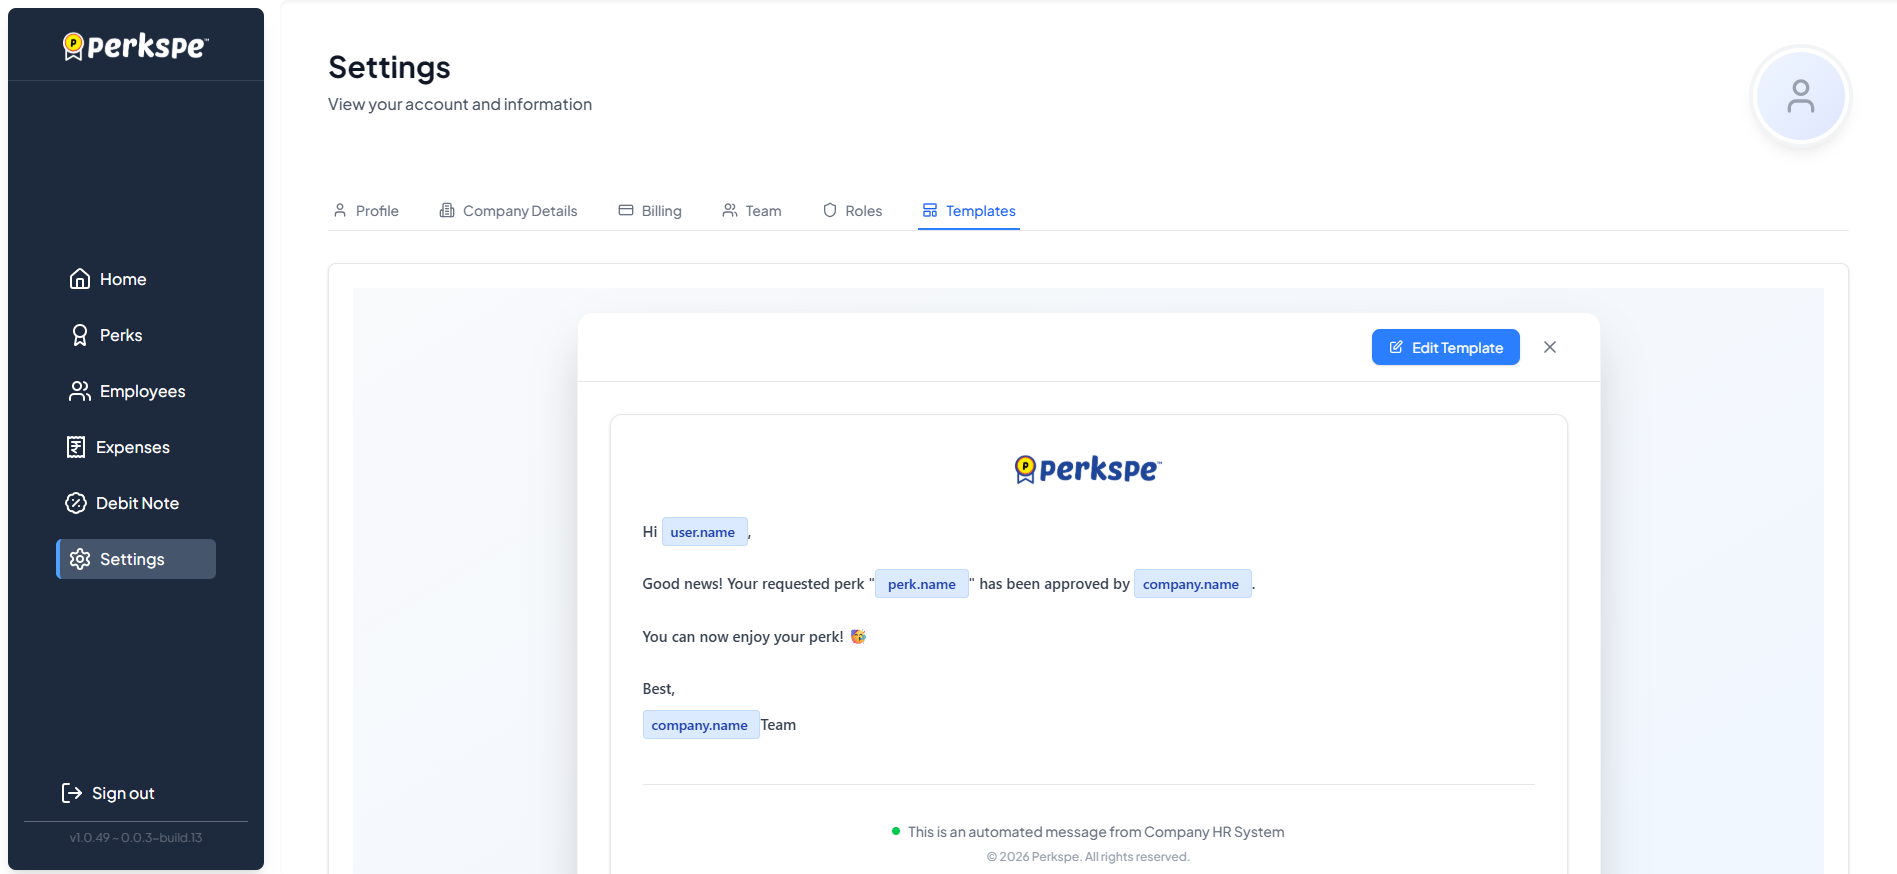
Using {{variables}}
You can insert dynamic content (like user names or perk details) using variables.
How to use:
Type {{ in the editor to open the variable suggestion dropdown. Select the variable you want to insert.
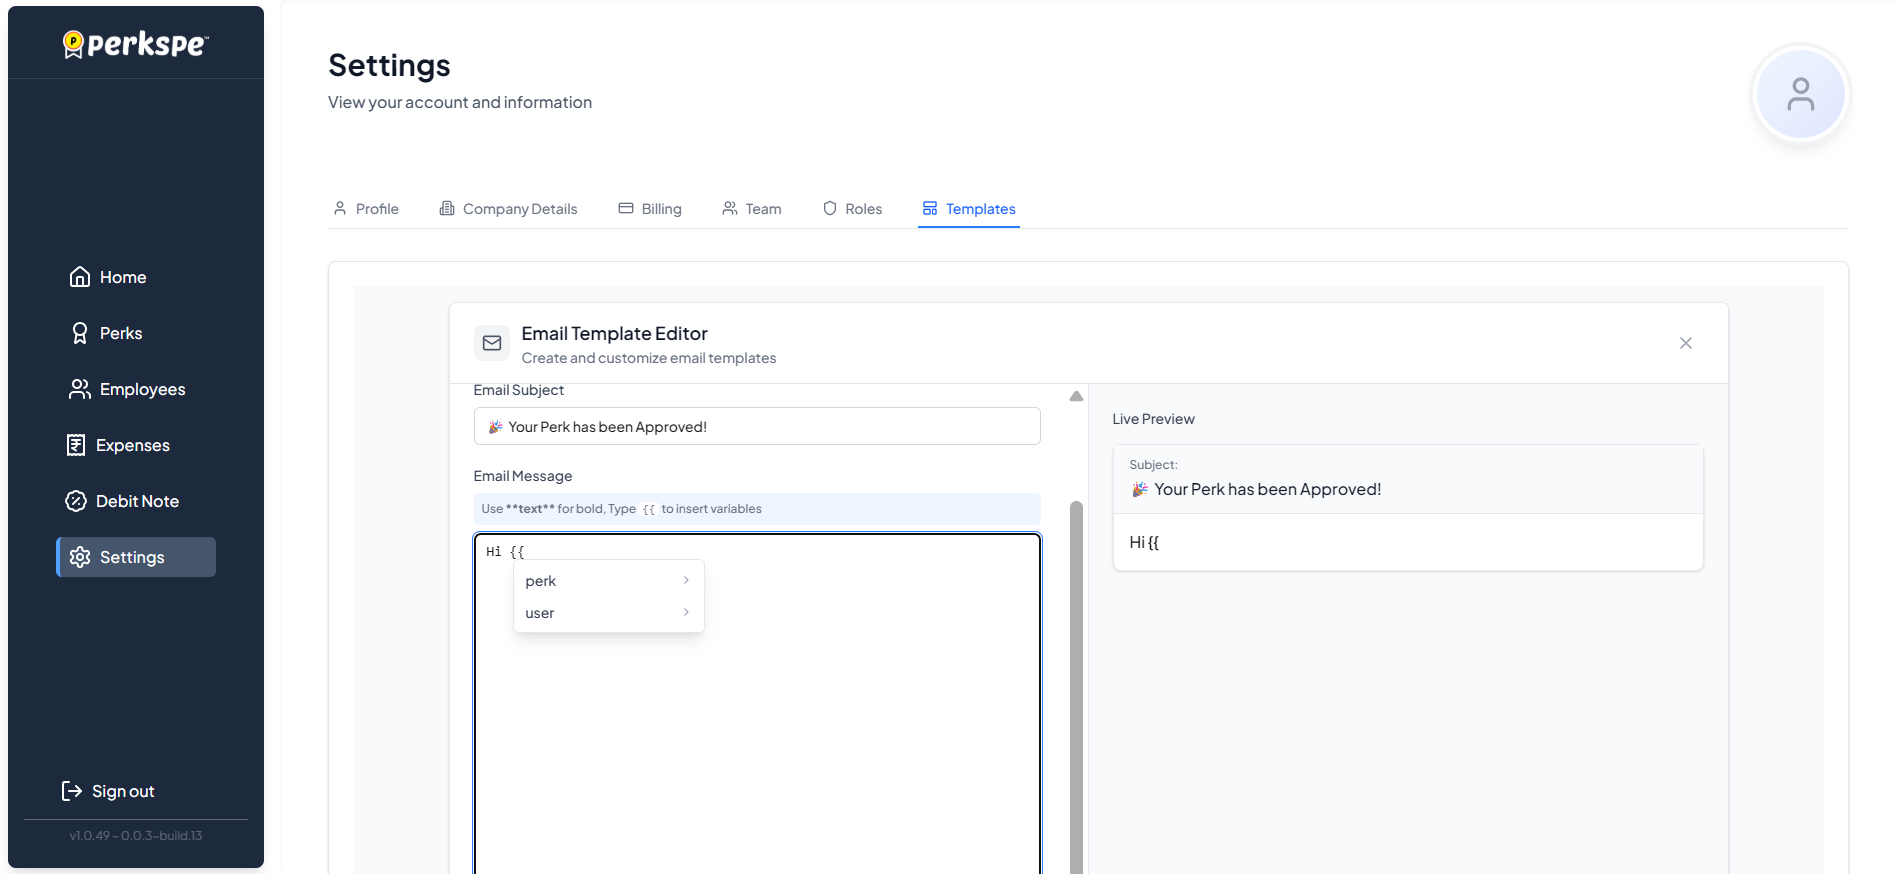
Use the Preview panel to see how the email will look with sample data before saving.
7. Expense Custom Fields
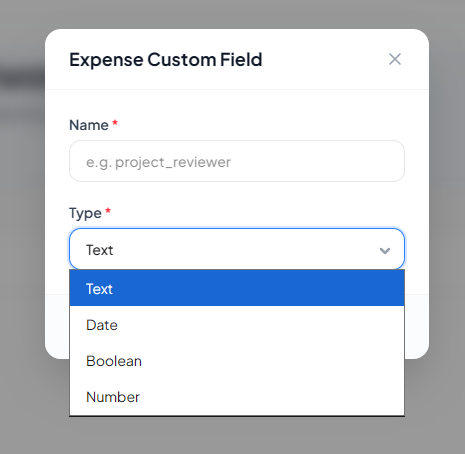
Create custom fields to collect additional expense information specific to your organization's requirements (up to 5 fields). These fields are displayed to employees when they create an expense.
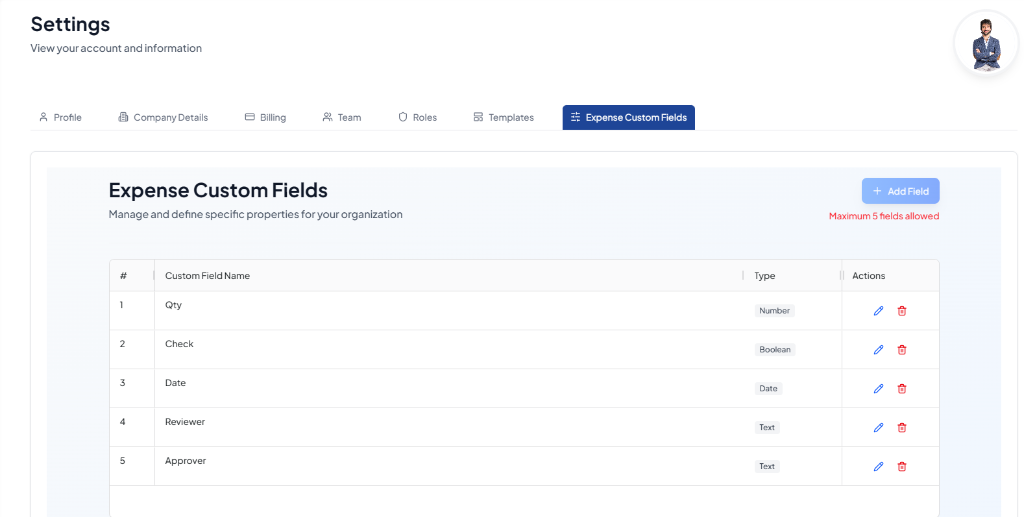
Available Field Types
Text & Number
Capture textual details or quantities (e.g. Project Code).
Date & Boolean
Select dates or toggle yes/no switches (e.g. Billable?).
Managing Fields
- Add Field: Click + Add Field, select Type, and Save.
- Edit Field: Click the blue pencil icon.
- Delete Field: Click the red trash icon.
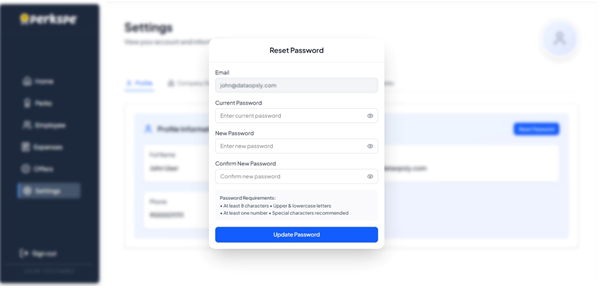
8. Password Reset